Run the quantitative robot on the FMZ Quant Trading platform, following the following steps:
1. Sign up (FMZ.COM)
If you have already registered for FMZ Quant, you can log in directly and ignore this step.
Sign in: https://www.fmz.com
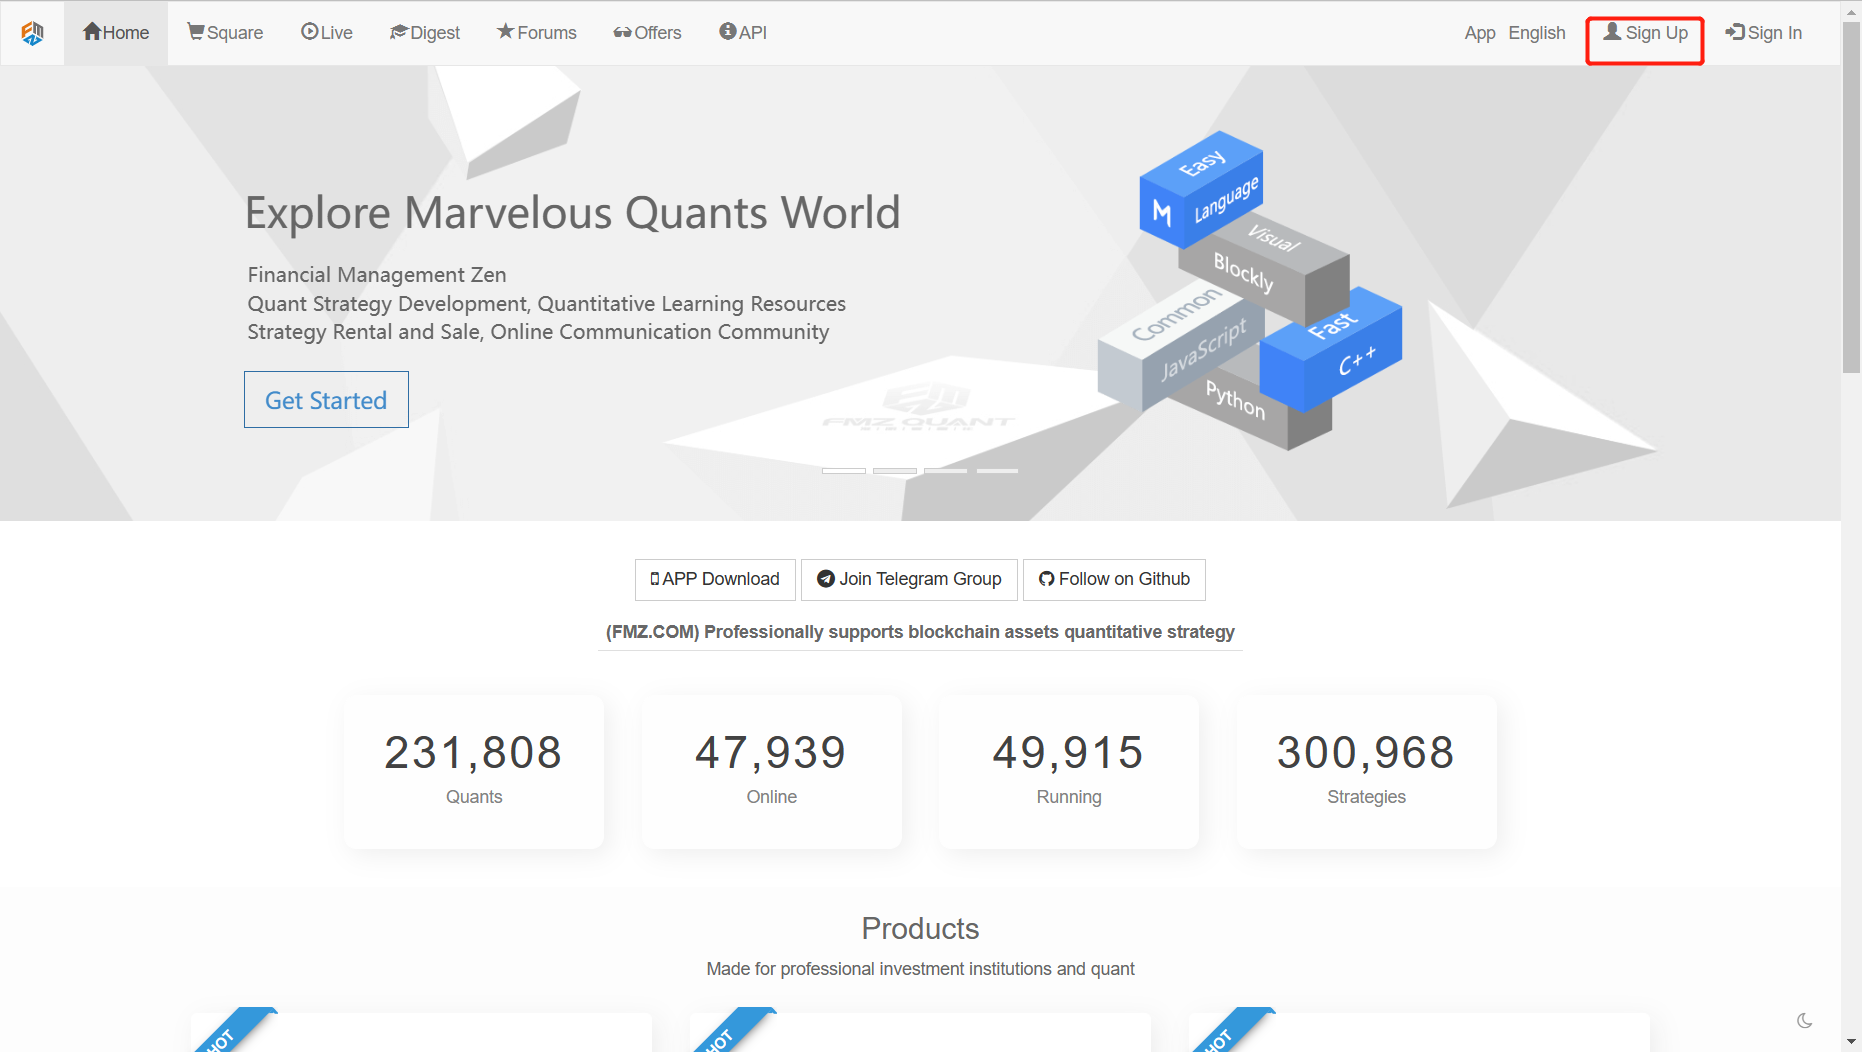
Click Sign up and note that the email address is the only credential to retrieve your account when registering.
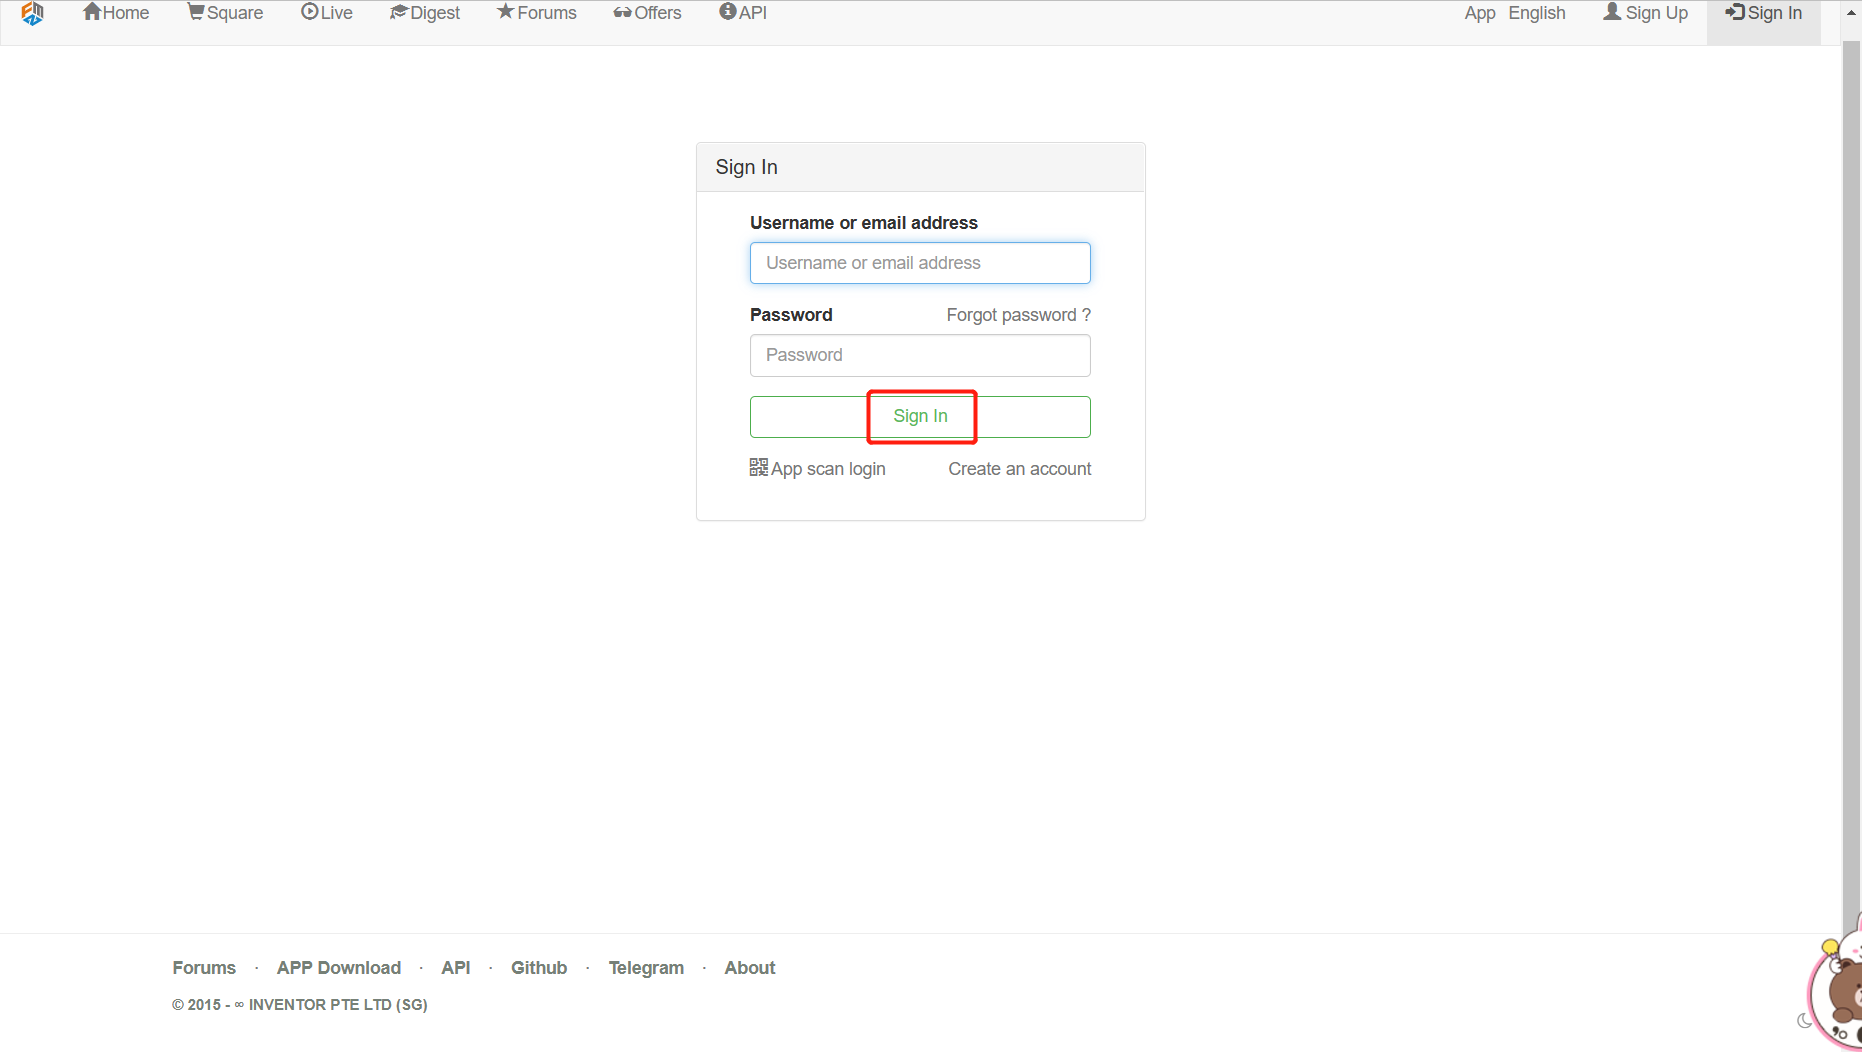
Once you have registered, you can login to the FMZ Quant Trading platform.
2. Get strategy
The following interface is displayed after login:
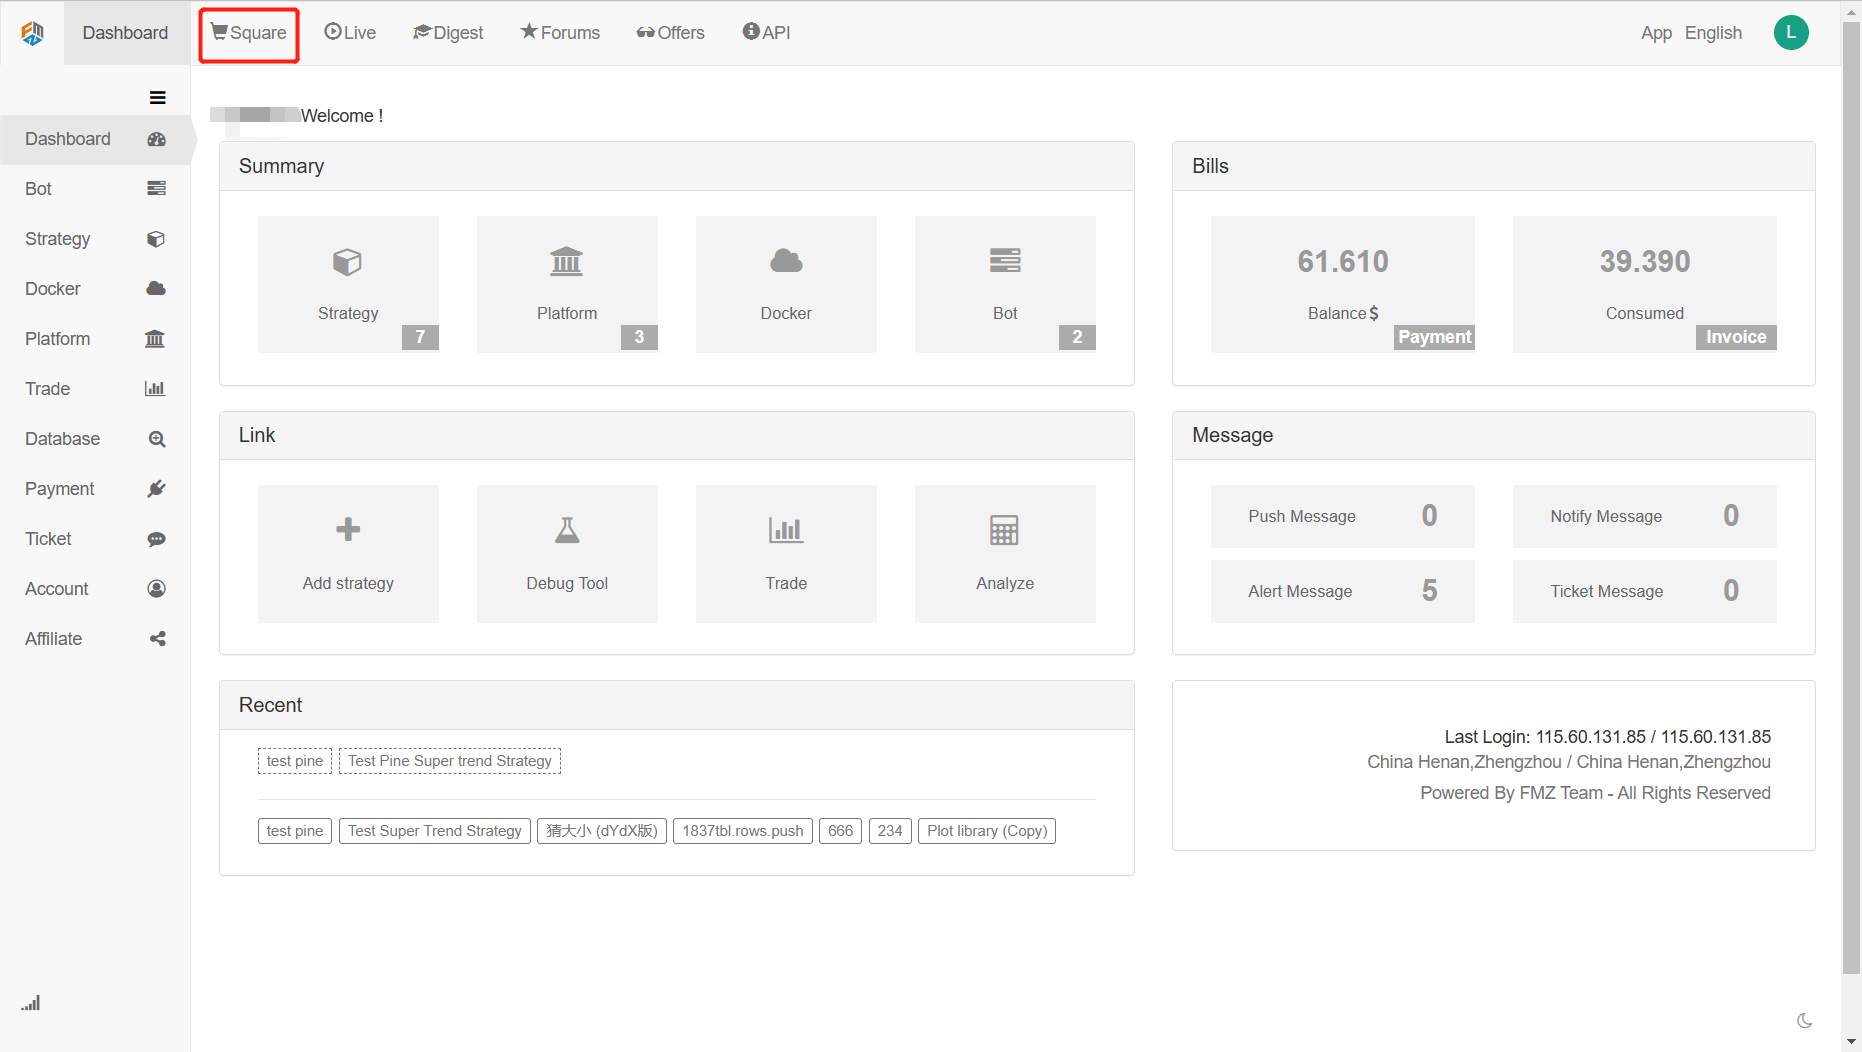
Click on the Square, jump to the strategy square page, search for the keyword “FMex”, click on the strategy name, and enter the strategy copy page.
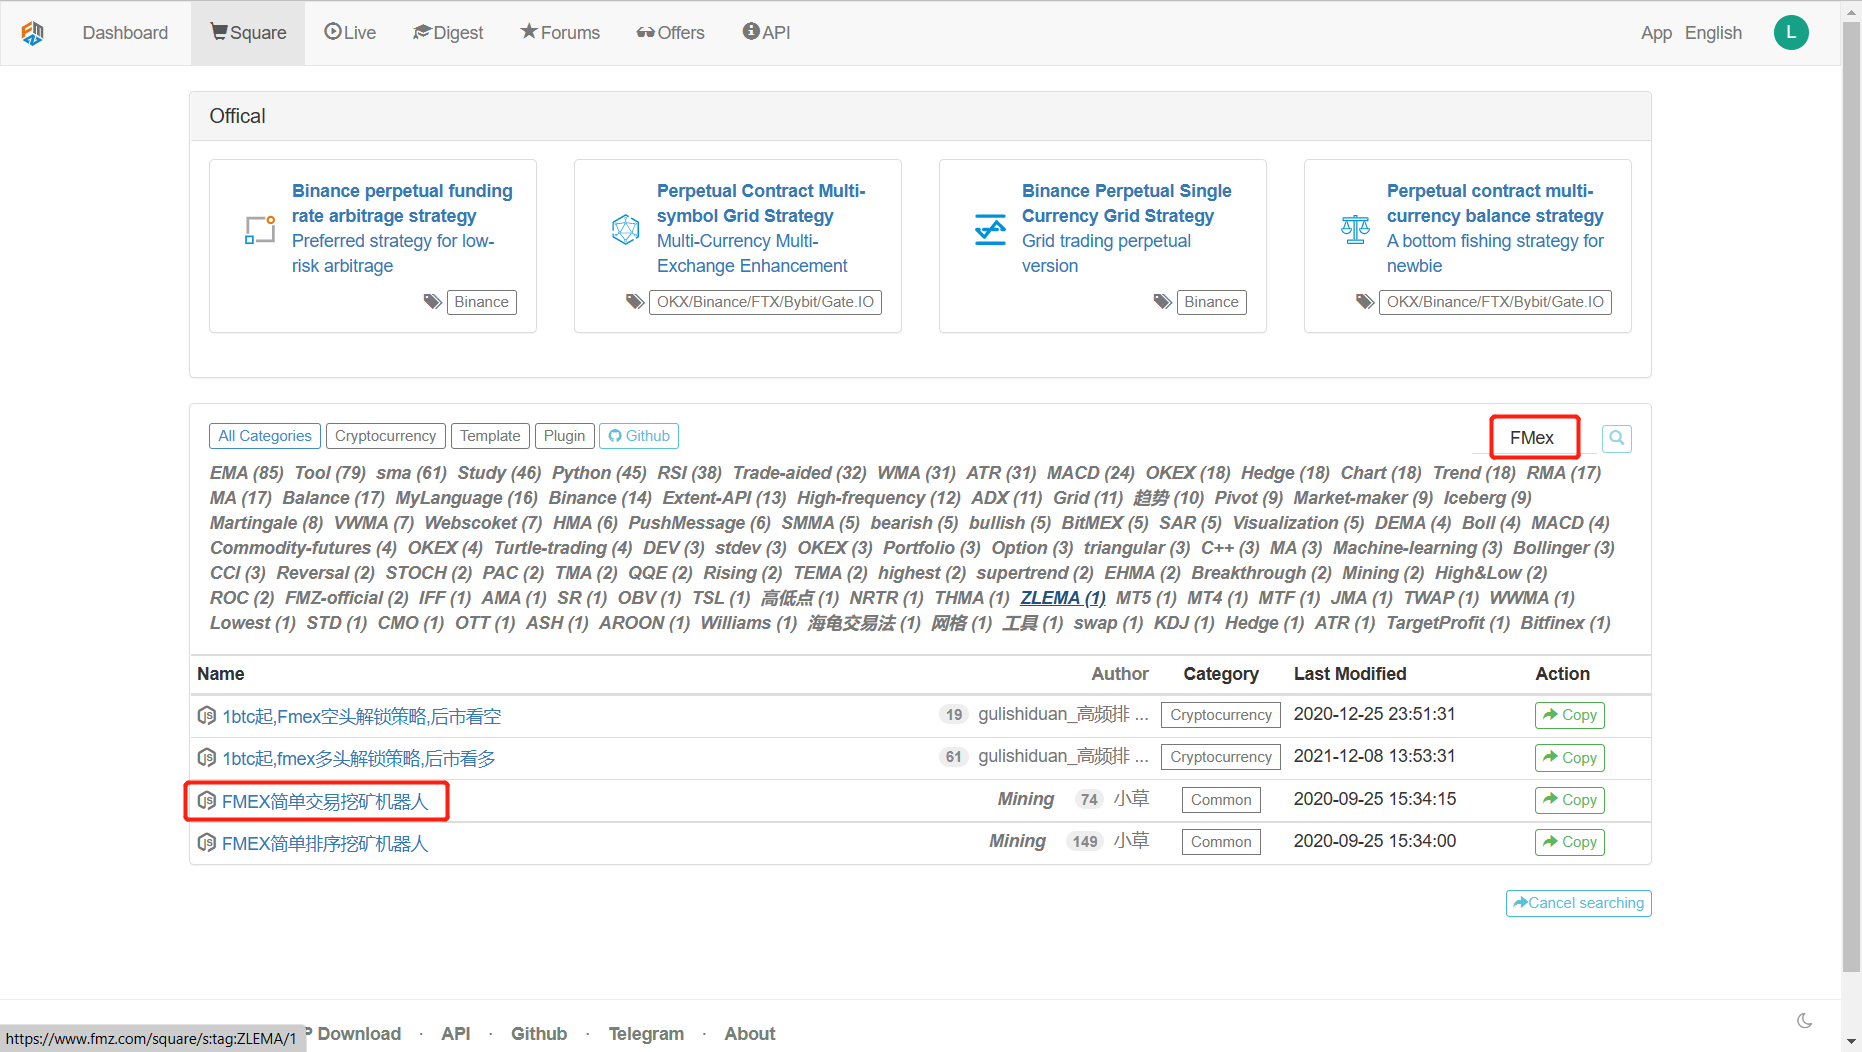
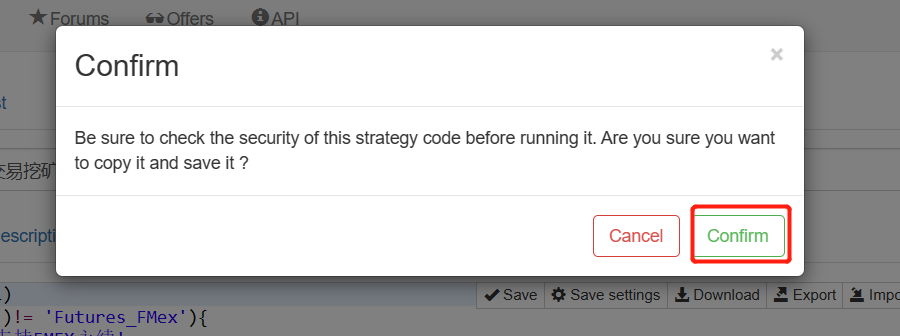
Strategy copy page:
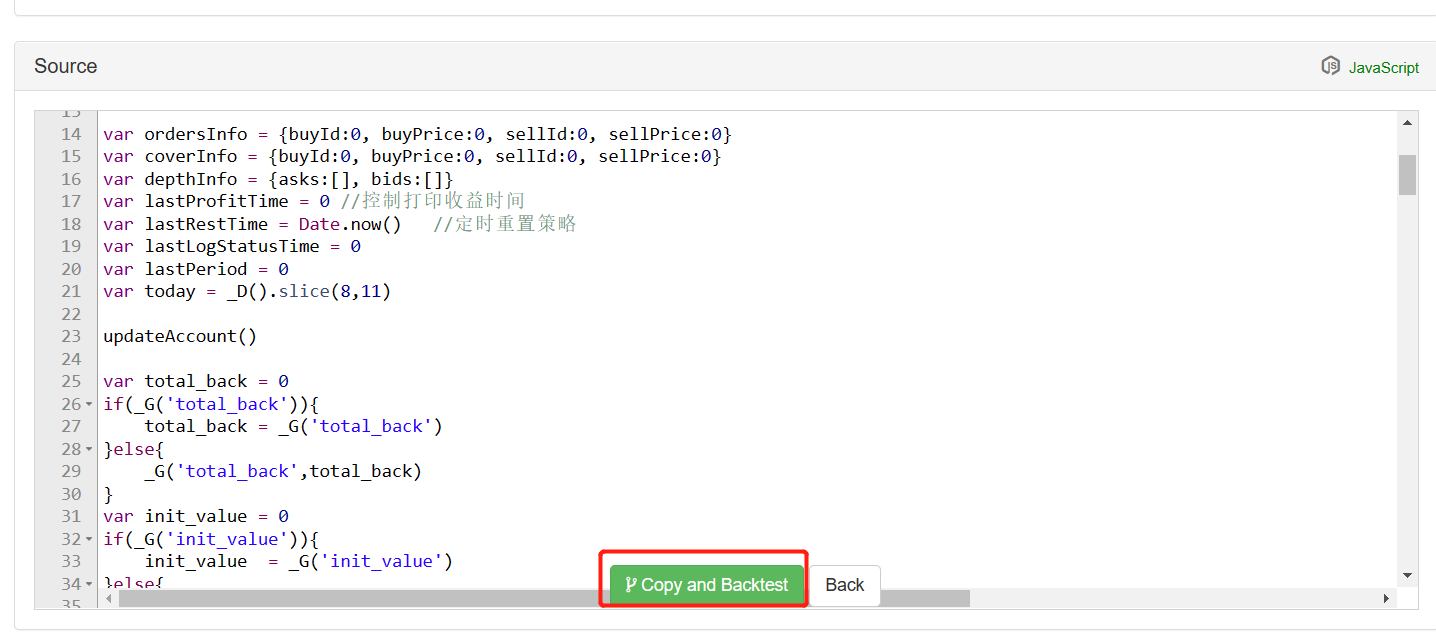
After jumping to the strategy backtest page, click Save to save the complete strategy to your FMZ account strategy library.
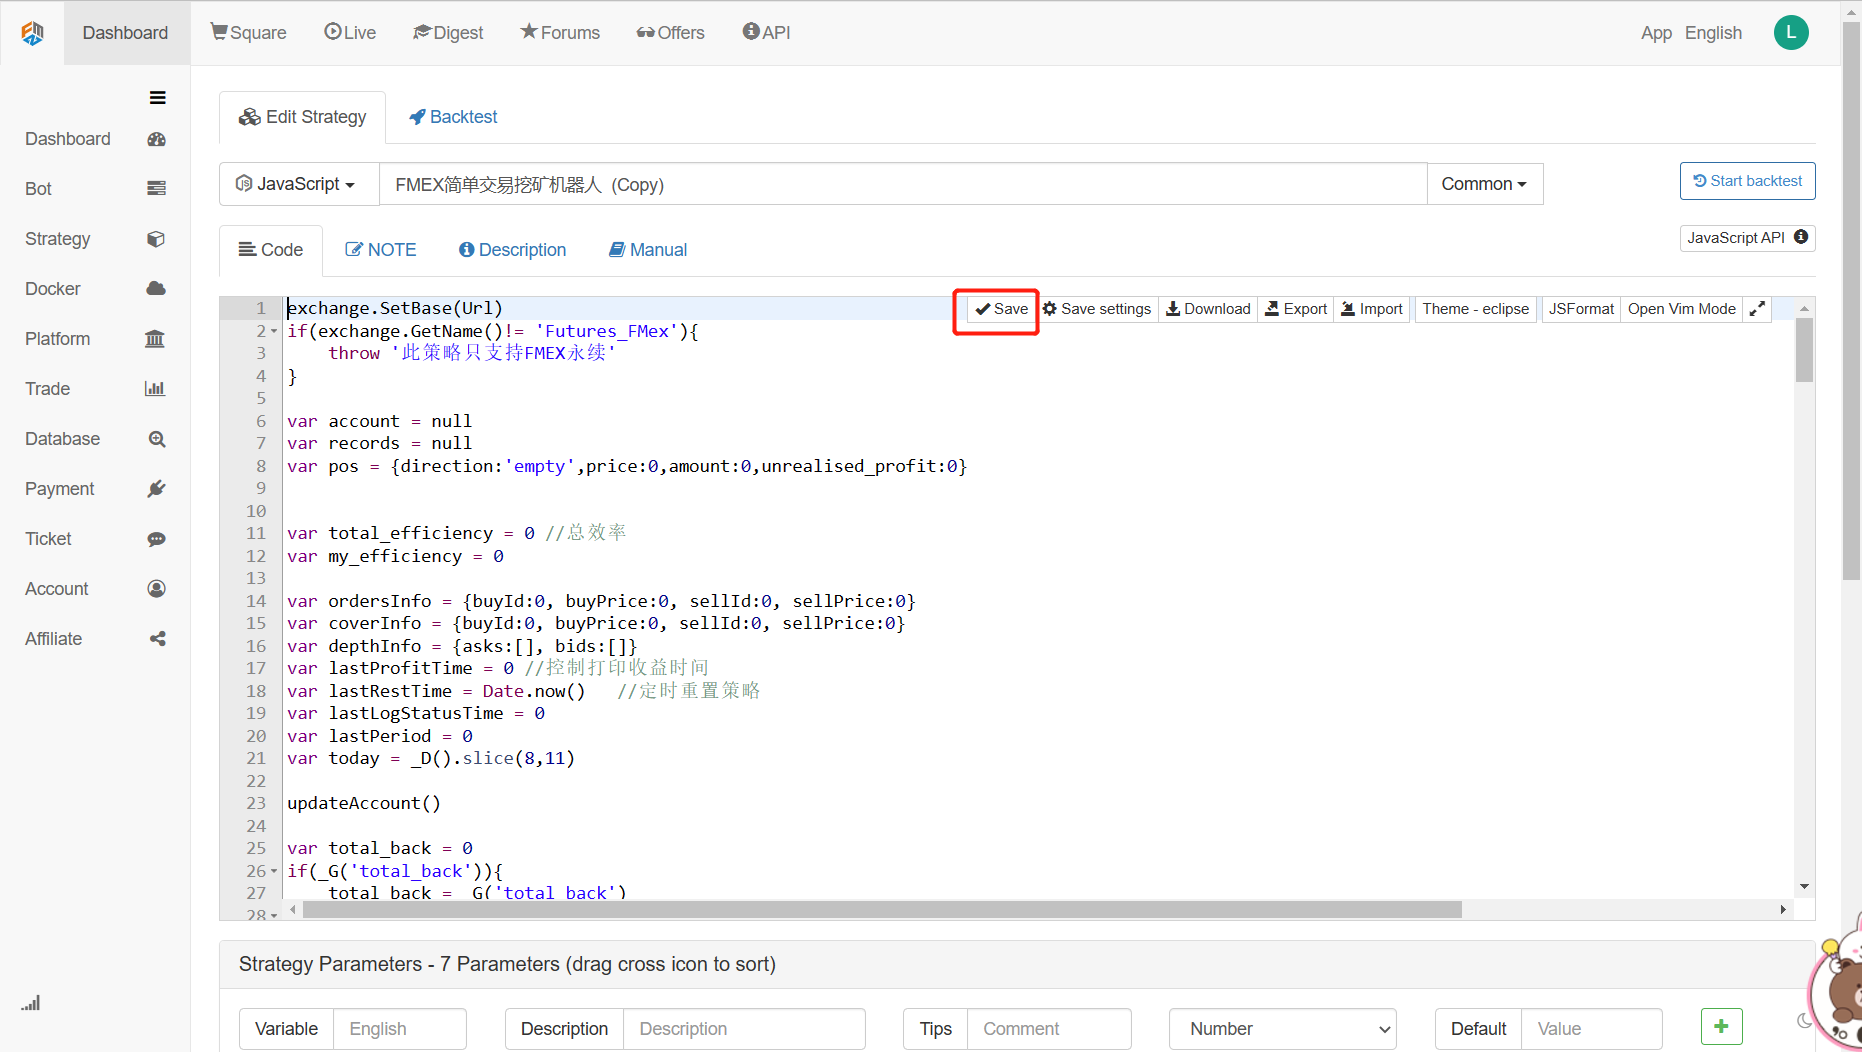
You can view it in the “Strategy”:
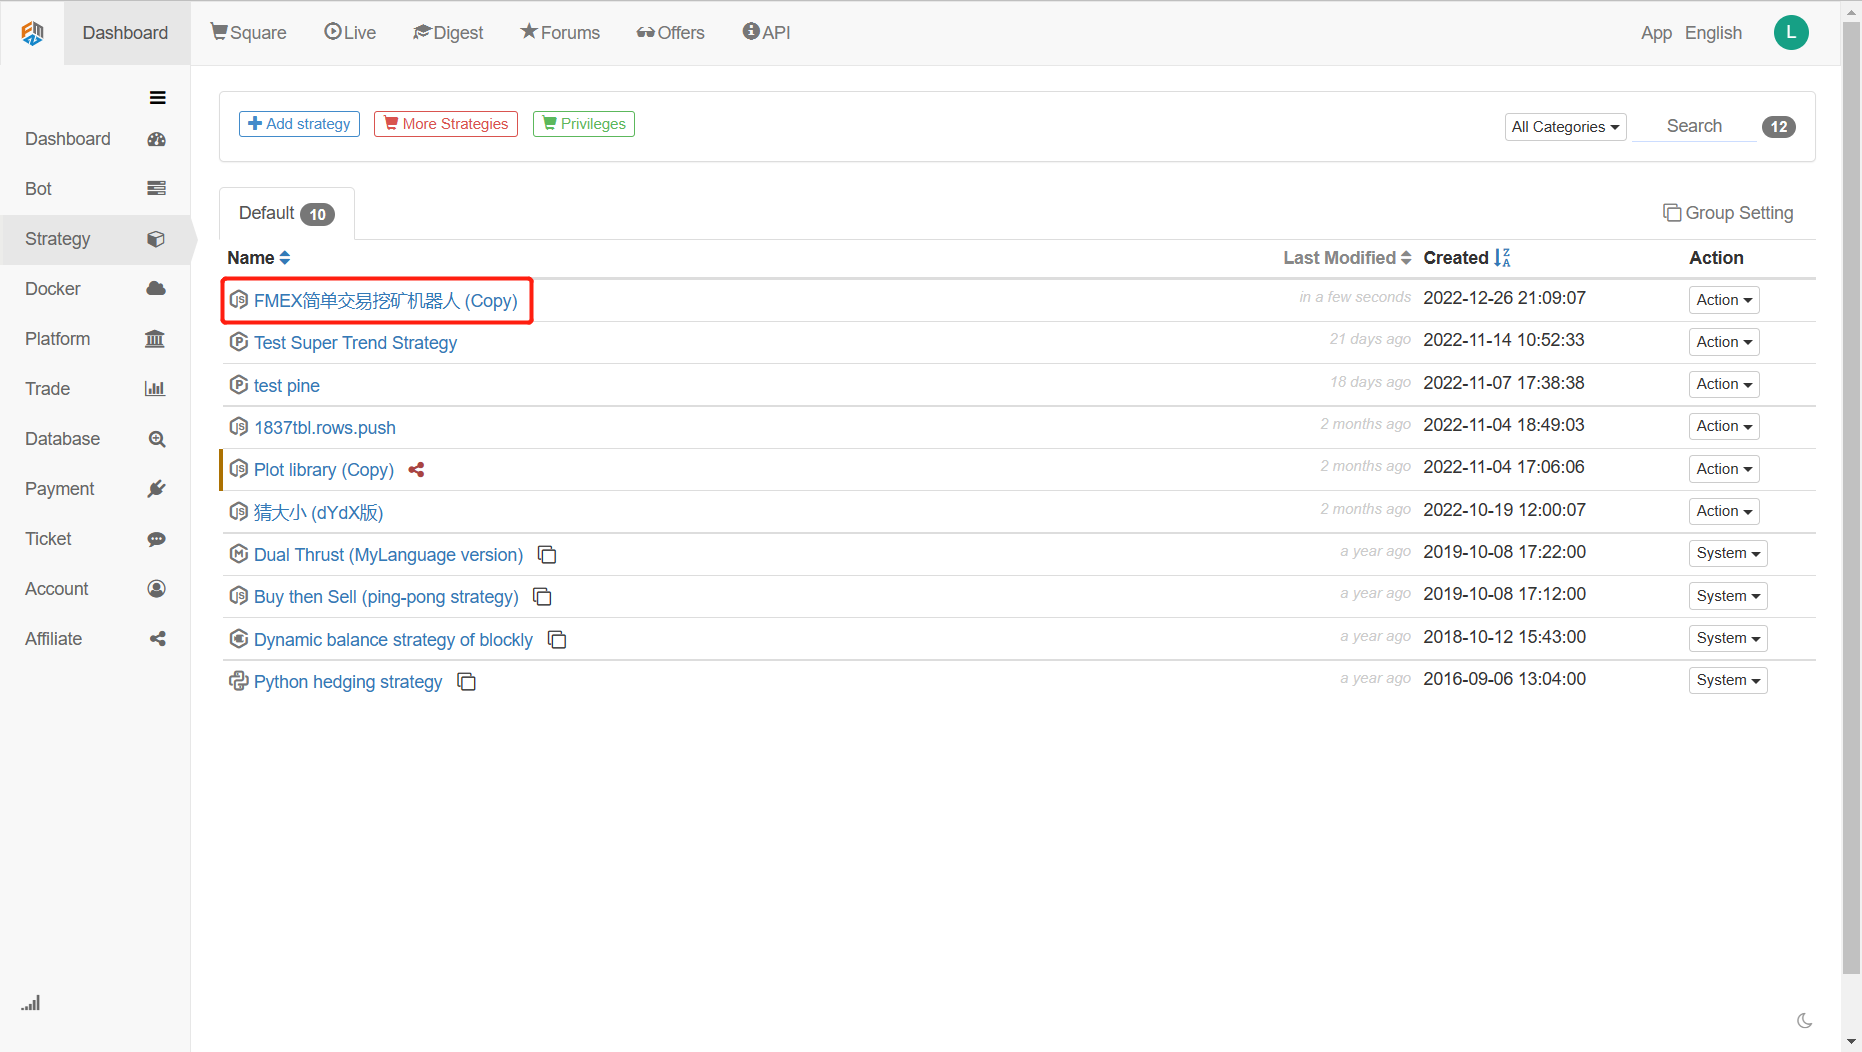
Once the strategy is ready, continue with the following steps.
3. Configure Exchange API KEY
Login to the FMex Exchange website: https://fmex.com , you can log in directly with your FCoin account authorization.

After logging in, click on “User Center”

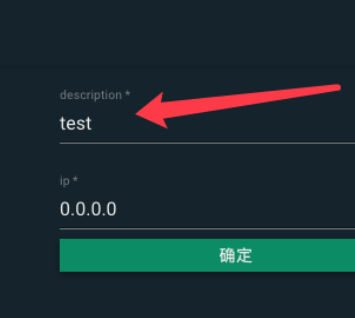
Create API KEY

Set it according to your own needs.
If you have not set “verification”, you need to set the verification of your account first. If your account is already bound with Google Authenticator, you can verify it here directly.
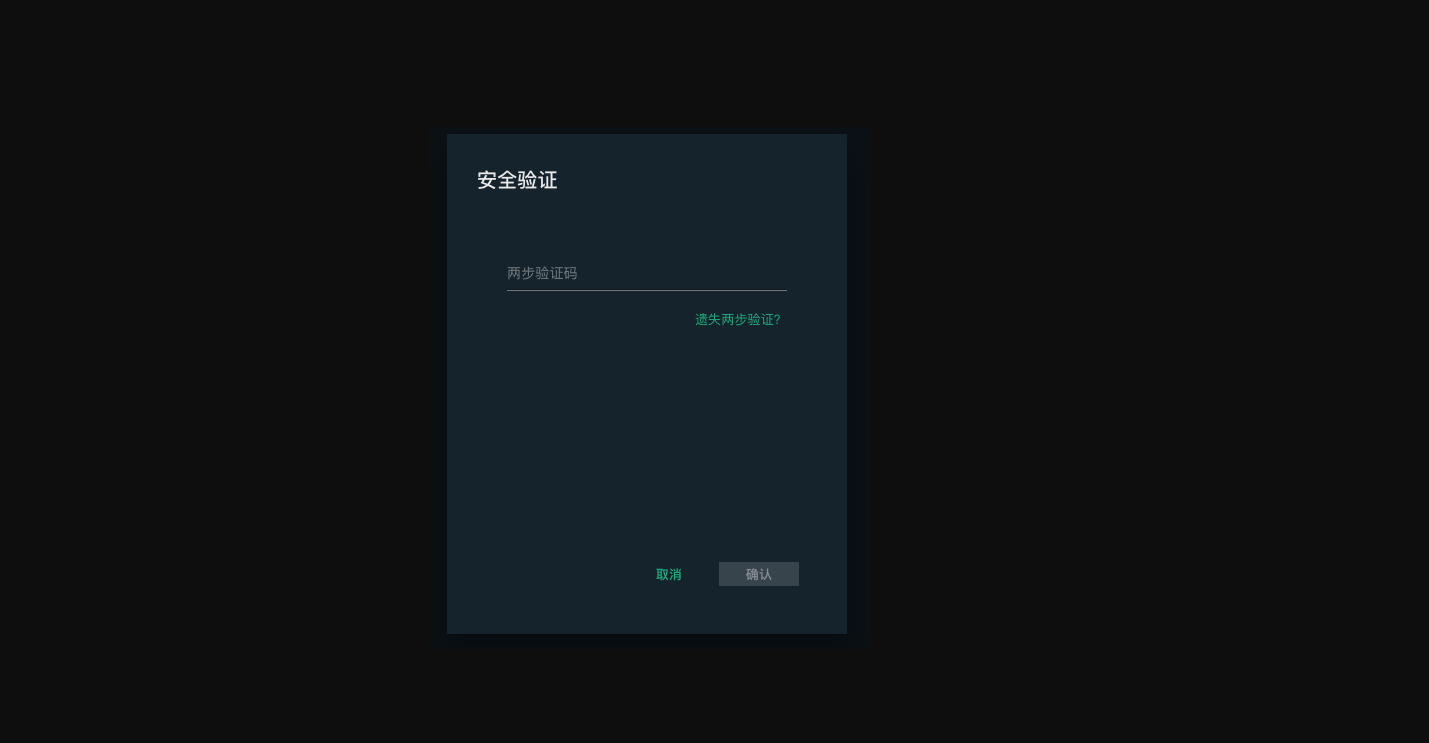
After the verification, the created API KEY will be displayed:
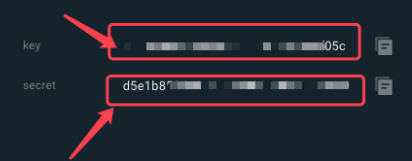
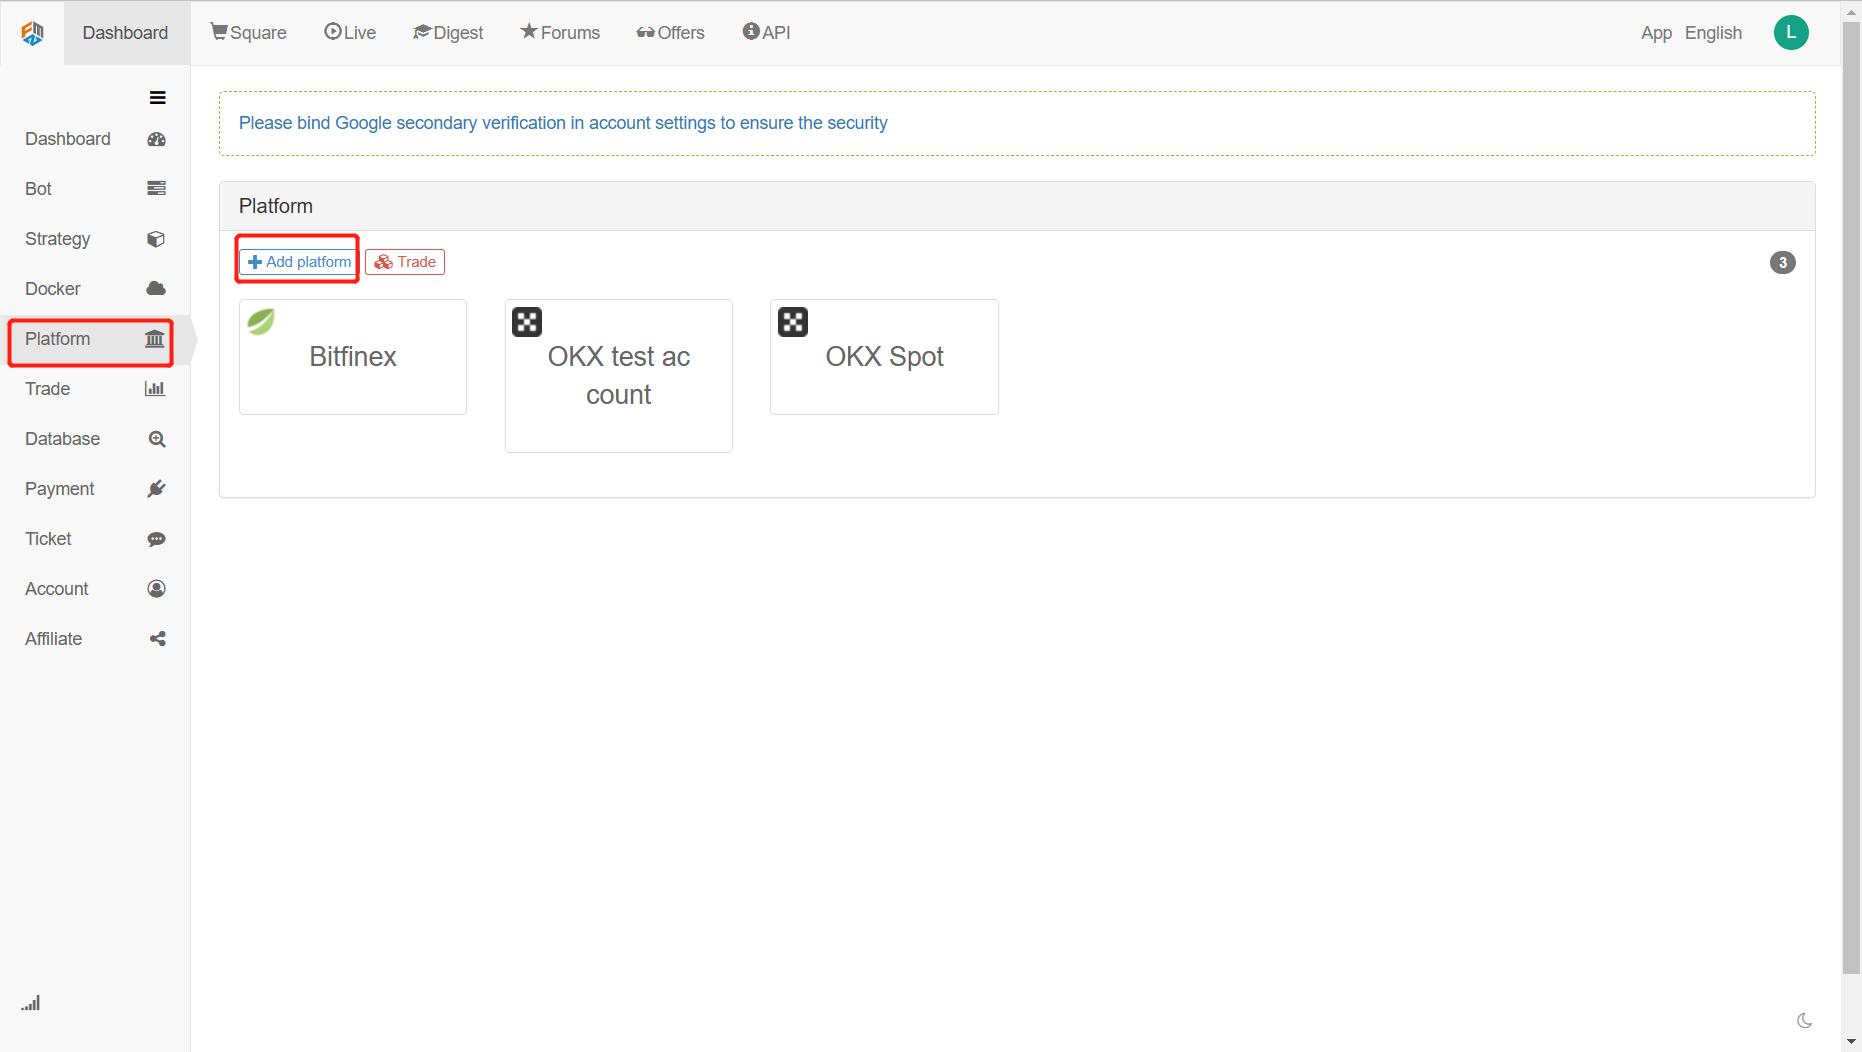
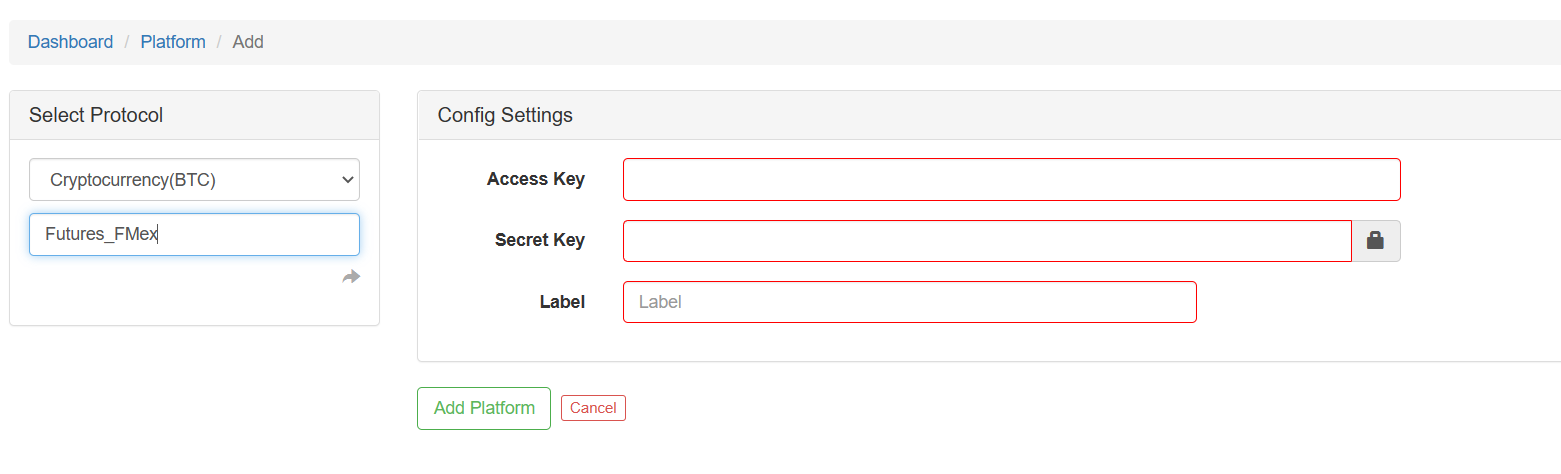
Go back to “Dashboard” of FMZ Quant Trading platform, click “Platform”, and click “Add platform”.
Fill in the API KEY (That is: Access key and secret key)
After it is added, it will appear in the “Platform”.
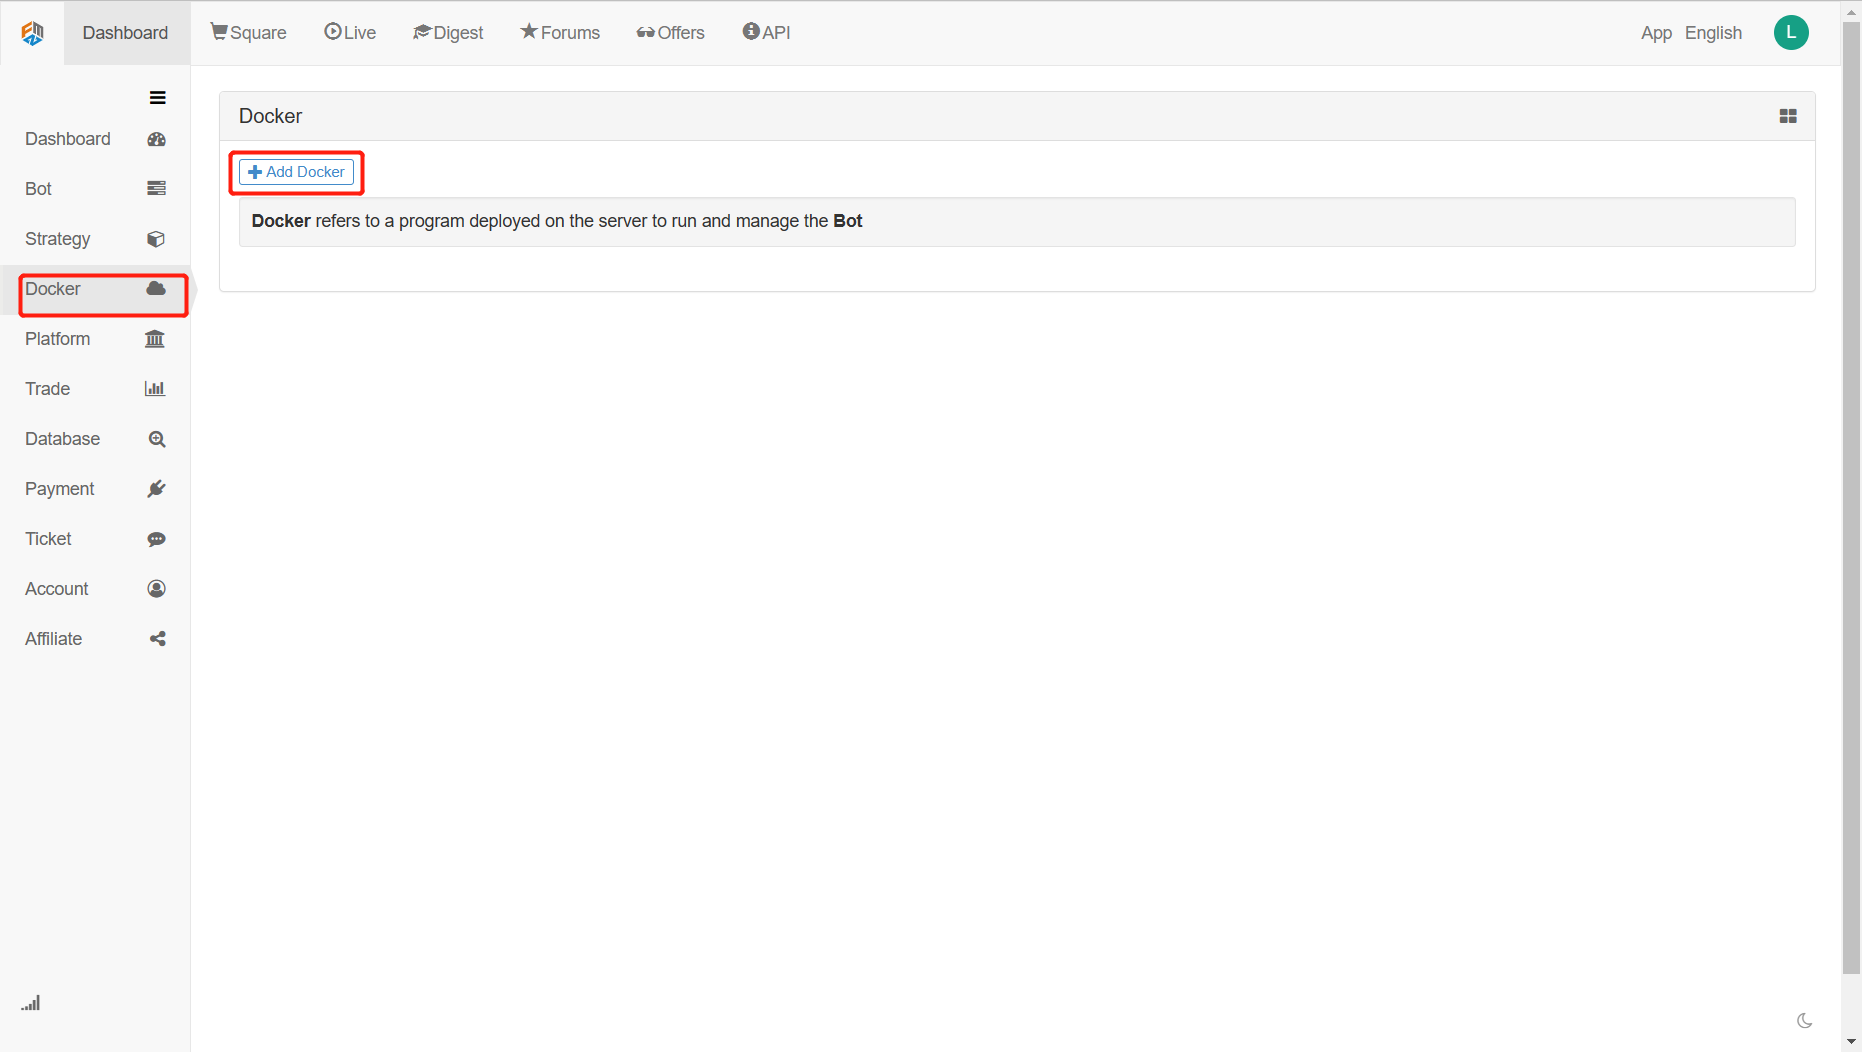
4. Deploy docker
Docker deployment tutorial: https://www.fmz.com/bbs-topic/9090#3.Deploy Dockers
It is also possible to use the one-click deployment provided by the FMZ Quant:
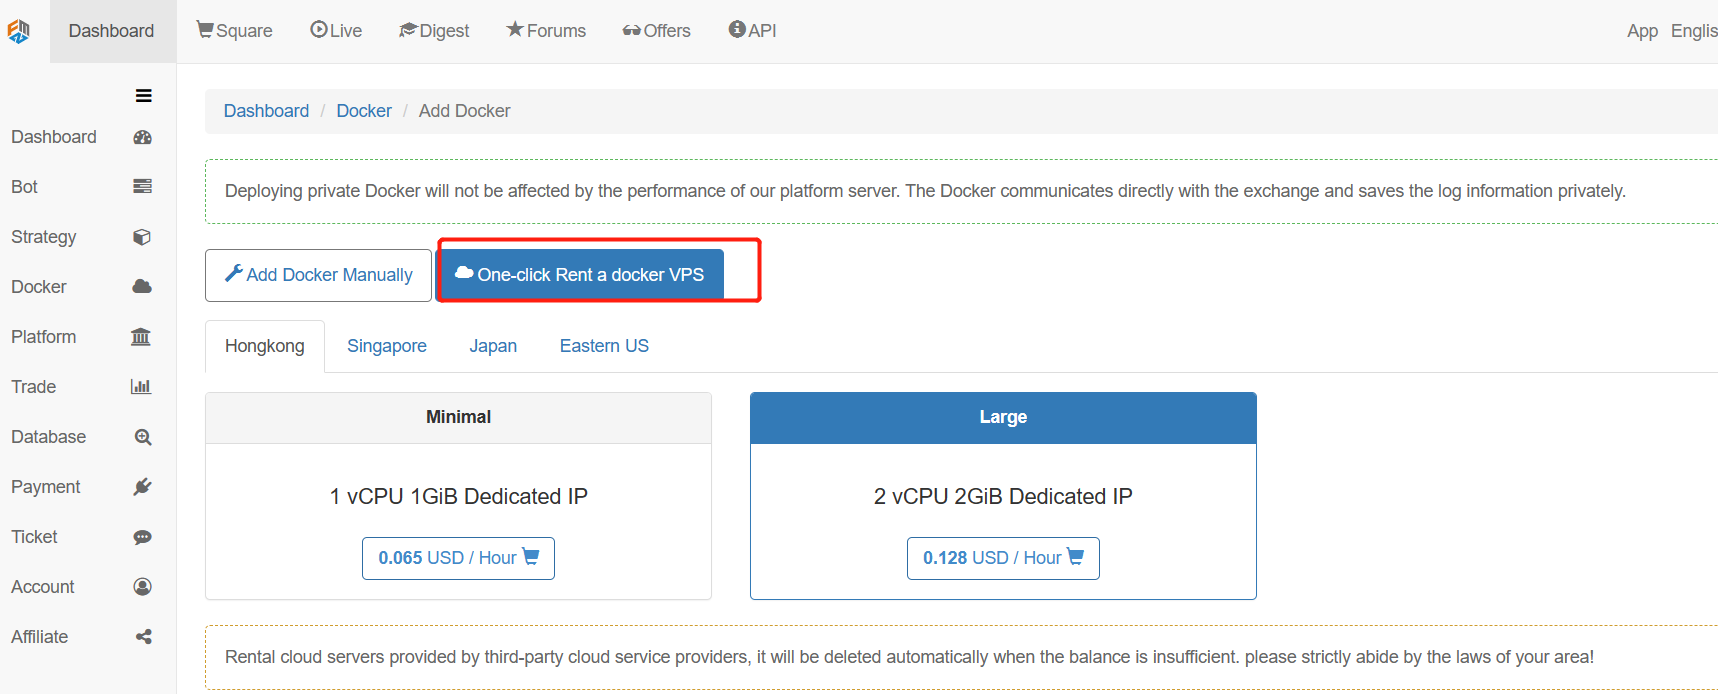
Choose according to your own needs, for example, choose AliCloud in Hong Kong as the server for the docker to run on.
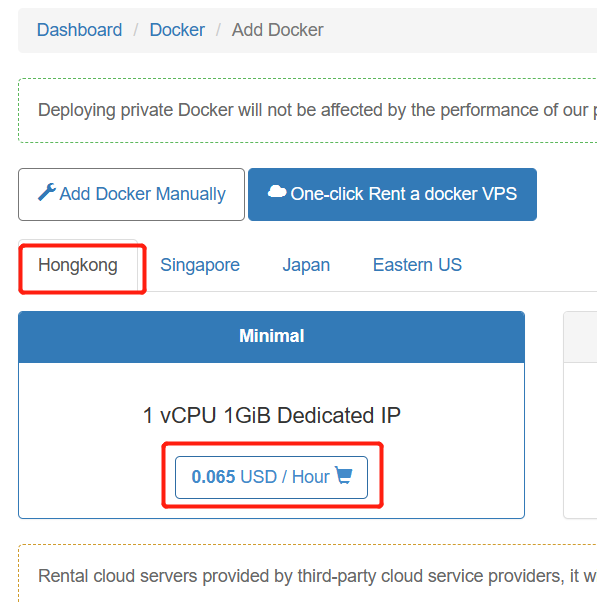
After clicking “Rent Now”, the deployment of the docker will be automated.
For the following demo of running a bot, I used a docker deployed on a windows server.
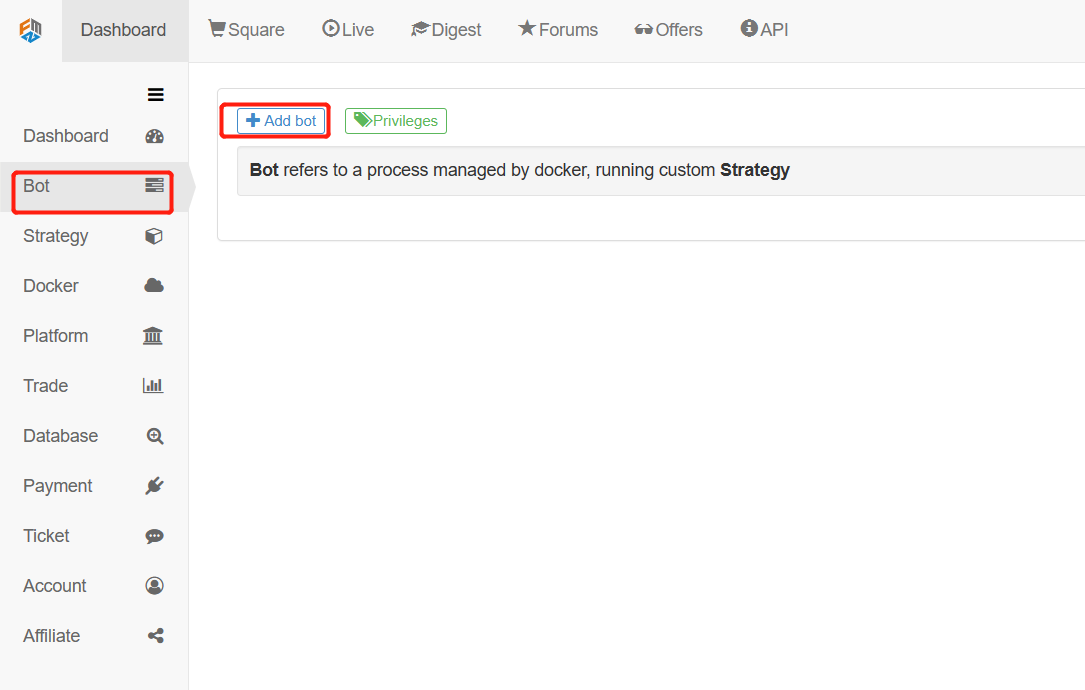
5. Running the robot
With:
“Strategy” : i.e. the trading logic to be run.
“Docker”: the software on which the strategy code will run, the docker is the carrier of the robot.
“Exchange configuration”: which accounts to operate, how to authorize, with the API KEY, you have access.
Then you can run the robot:
Configure the robot’s settings, parameters:
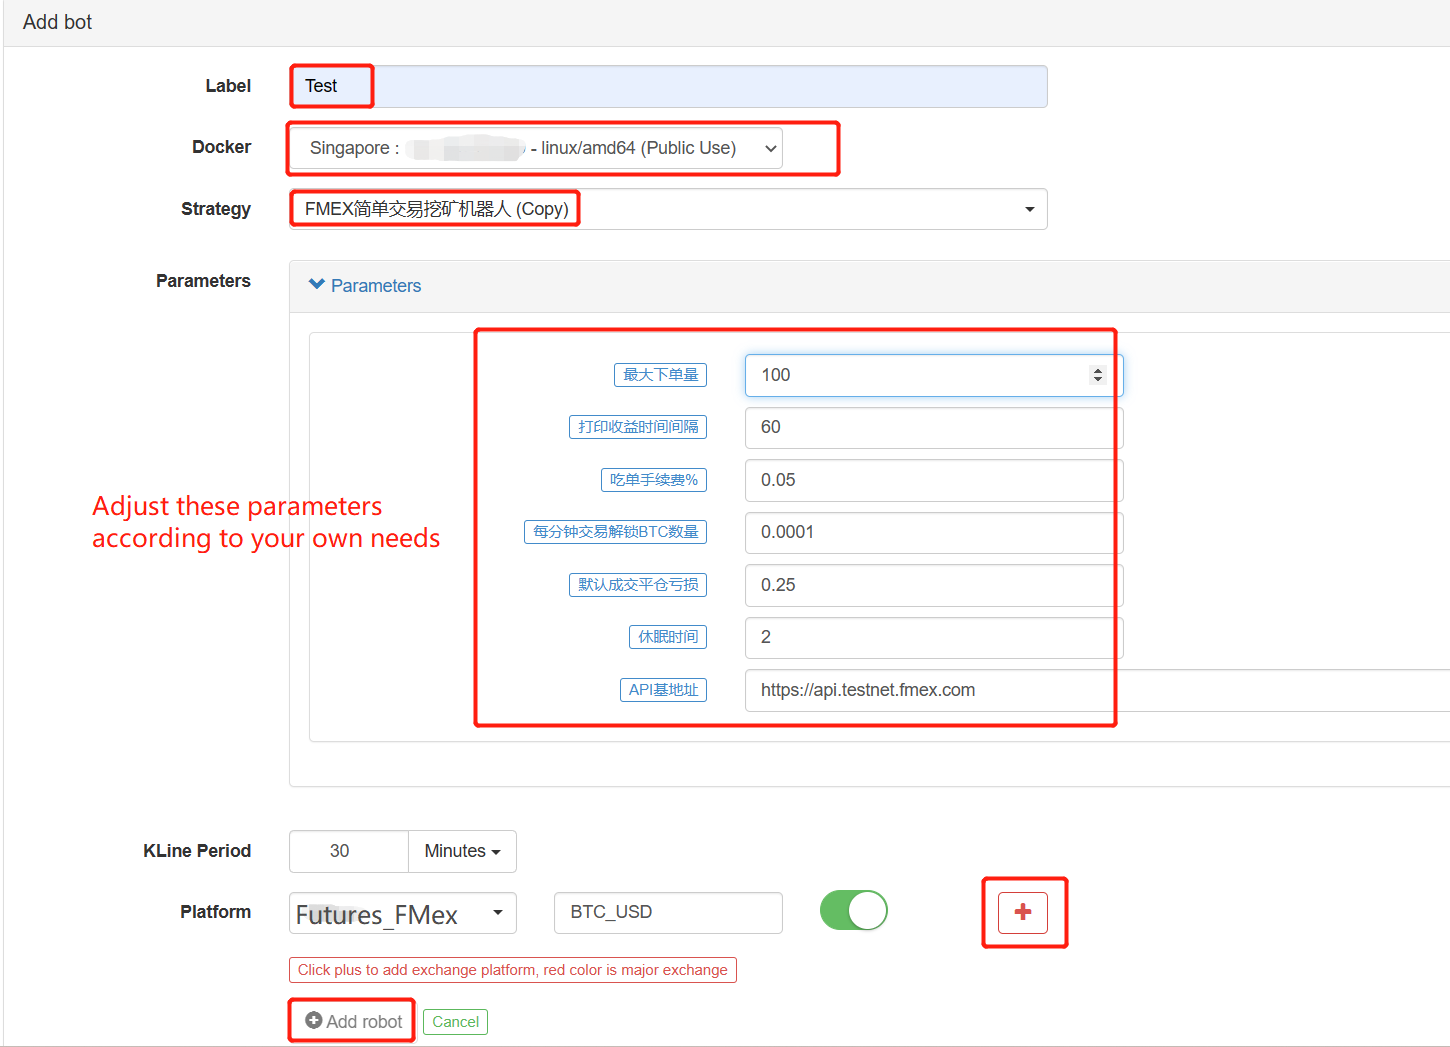
Then the robot will run.