In the initial design of FMZ strategy, if asynchronous concurrent operations are required, the exchange.Go() function can only be used to achieve concurrent execution of FMZ encapsulated interface, and it is not possible to concurrently execute some custom operations (functions). Although this design greatly improves the efficiency of the strategy program, students who have experience in concurrent design in native programming languages often feel very uncomfortable.
Even new students who use FMZ for introductory quantitative trading may not understand the use of the exchange.Go() function. Using exchange.Go() still appears to be executing statements one by one in sequentially executed code. In this article, we will explore the use of the newly added concurrent thread functionality in the FMZ platform: the __Thread() and other related functions, as well as the asynchronous design of strategy programs.
1. Simple concurrent design
If we want the main thread of the strategy to run concurrently with a sub-thread executing a custom function we have written, we can use a design similar to the following code. In the strategy code, define a custom function GetTickerAsync() and write the specific functionality of this function. This function executes an infinite loop and continuously calls the FMZ API interface GetTicker() to retrieve market data.
Then, use the statement __threadSetData(0, "ticker", t) to write data to the main thread. The data name is ticker and the data value is t, which is the return value of GetTicker().
Copy code__threadSetData(0, "ticker", t)
After designing the custom function for concurrent thread execution, we can write the code in the main() function. At the beginning of the main() function, we use:
Copy code__Thread(GetTickerAsync, 0) // GetTickerAsync is a custom function that needs to be executed concurrently, and 0 is the parameter that is passed to the GetTickerAsync function.
Create a concurrent thread that starts executing the GetTickerAsync() function. Then, the main() function starts executing its own while loop, in which it receives the data updated by the GetTickerAsync() function and prints it:
Copy codevar t = __threadGetData(0, "ticker")
Log(t)
Complete code example:
Copy codefunctionGetTickerAsync(index) {
    while (true) {
        var t = exchanges[index].GetTicker()
        __threadSetData(0, "ticker", t)
        Sleep(500)
    }
}

functionmain() {
    __Thread(GetTickerAsync, 0)

    while(true) {
        var t = __threadGetData(0, "ticker")
        Log(t)
        Sleep(1000)
    }
}
Live trading test:
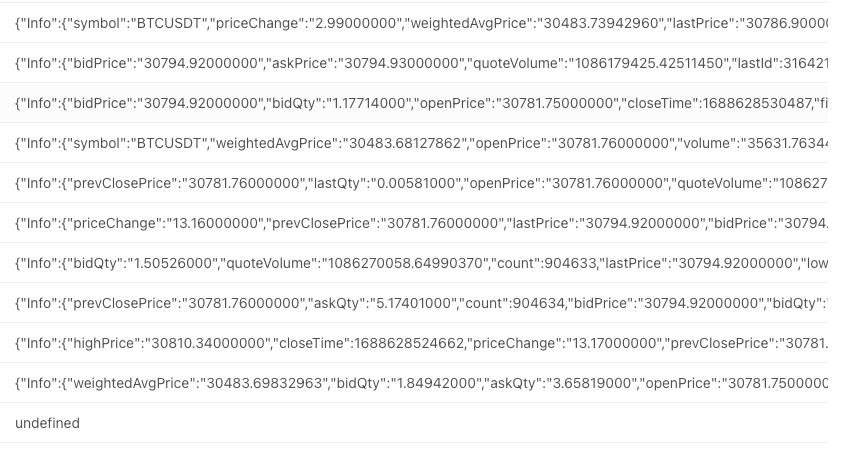
This is one of the simplest application designs, so let’s look at some other requirement designs.
2. Concurrent order placement design
We can design a function to create 10 threads simultaneously, each executing an order placement function. In the main() function, we can design a while loop to detect strategy interaction commands. When we receive the interaction command placeMultipleOrders, we call the concurrent order placement function testPlaceMultipleOrders().
Copy codeif (cmd == "placeMultipleOrders") {
    // ...
}
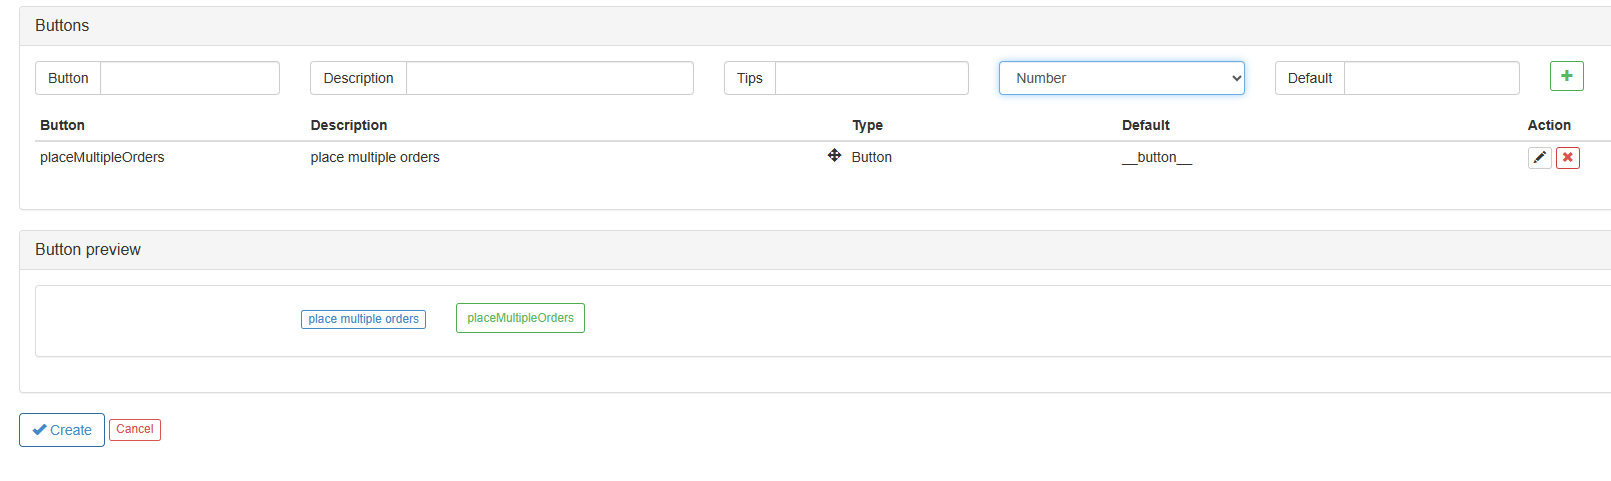
Add strategy interaction design on the strategy editing page by adding a button with the command: placeMultipleOrders.
Complete code example:
Copy codefunctionplaceOrder(exIndex, type, price, amount) {
    var id = nullif (type == "Buy") {
        id = exchanges[exIndex].Buy(price, amount)
    } elseif (type == "Sell") {
        id = exchanges[exIndex].Sell(price, amount)
    } else {
        throw"type error! type:" + type
    }
}

functiontestPlaceMultipleOrders(index, beginPrice, endPrice, step, type, amount) {
    Log("beginPrice:", beginPrice, ", endPrice:", endPrice, ", step:", step, ", type:", type, ", amount:", amount)
    var tids = []
    for (var p = beginPrice; p <= endPrice; p += step) {
        var tid = __Thread(placeOrder, index, type, p, amount)
        tids.push(tid)
        Sleep(10)
    }
    Sleep(1000)
    for (var i = 0; i < tids.length; i++) {
        __threadTerminate(tids[i])
    }
}

functionmain() {
    while(true) {
        LogStatus(_D())
        var cmd = GetCommand()
        if (cmd) {
            if (cmd == "placeMultipleOrders") {
                var t = _C(exchange.GetTicker)
                var beginPrice = t.Last * 0.8var endPrice = t.Last * 0.9var step = t.Last * 0.01testPlaceMultipleOrders(0, beginPrice, endPrice, step, "Buy", 0.01)
                var orders = exchange.GetOrders()
                for (var i = 0; i < orders.length; i++) {
                    Log(orders[i])
                }
            }
        }
        Sleep(1000)
    }
}
- The test adopts pending orders, incrementing from 80% to 90% of the current price, in a simulated trading environment. Click the interaction button to trigger the test order placement.
After clicking the “placeMultipleOrders” button, a message is prompted: The placeMultipleOrders command was sent successfully, please wait for a response from the live trading!
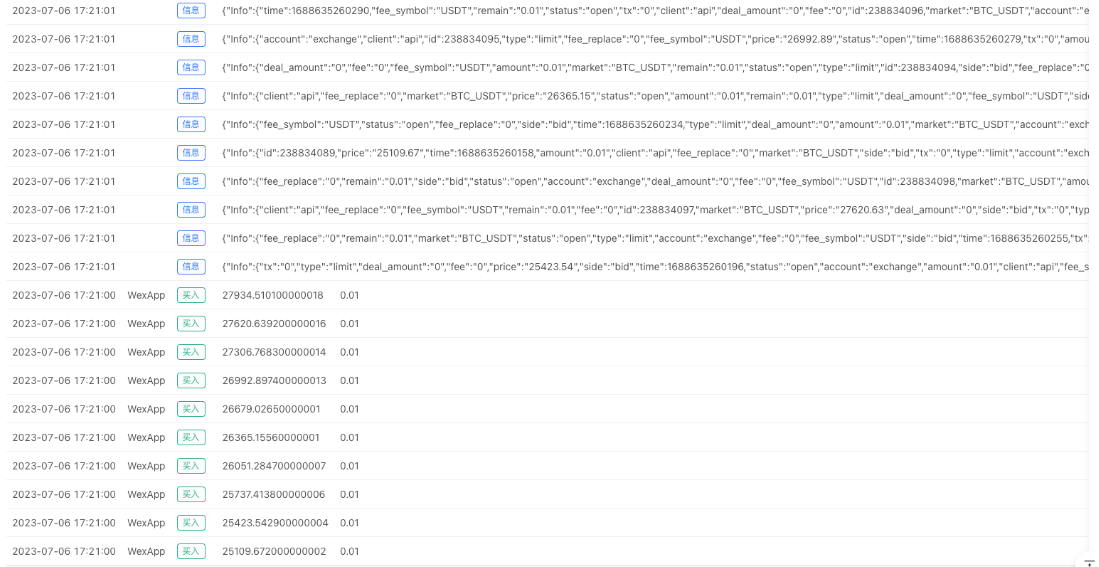
- Strategy log displays concurrent order placement operations:
3. Create a WebSocket connection in a concurrent thread execution function
This requirement was raised by an FMZ user who wants a simple example demonstrating how to use a WebSocket connection in concurrent threads and how to pass data to the main() function in the main thread.
Actually, it’s quite simple and similar to creating concurrent threads in the previous examples. The only difference is that we use the __threadPeekMessage() and __threadPostMessage() functions for inter-thread communication. Taking the WebSocket API call for the Binance exchange as an example, we also need to handle the closing operation of the WebSocket connection. The following example demonstrates how to notify a concurrent thread to stop.
Complete code example:
Copy codevar tid = nullfunctioncreateWS() {
    // wss://stream.binance.com:9443/ws/<streamName> , <symbol>@tickervar stream = "wss://stream.binance.com:9443/ws/btcusdt@ticker"var ws = Dial(stream)
    Log("Create a WS connection:", stream)

    while (true) {
        var data = ws.read()
        if (data) {
            __threadPostMessage(0, data)
        }
        Log("receiving data pushed by the WS link, data:", data)

        // __threadPeekMessage timeout parameter set to -1, no blockingvar msg = __threadPeekMessage(-1)
        if (msg) {
            if (msg == "stop") {
                Log("Concurrent Thread Id:", __threadId(), "Received stop command")
                break
            }
        }
    }

    Log("Concurrent threads finish execution, close ws connection")
    ws.close()
}

functionmain() {
    tid = __Thread(createWS)
    Log("Create concurrent threads, thread Id:", tid)

    while(true) {
        // __threadPeekMessage's timeout parameter is set to 0, blocking for datavar data = __threadPeekMessage(0)
        Log("Received from concurrent thread", ", Id:", tid, ", the data sent, data:", data, "#FF0000")

        var tbl = {
            type : "table",
            title : "<symbol>@ticker channel push message",
            cols : ["Event Type", "Event Time", "Trading Pairs", "24 Hour Price Change", "24 Hour Price Change %", "Average Price", "Last Traded Price", "Volume in 24 Hours", "Turnover in 24 Hours"],
            rows : []
        }

        try {
            data = JSON.parse(data)
            tbl.rows.push([data.e, _D(data.E), data.s, data.p, data.P, data.w, data.c, data.v, data.q])
        } catch (e) {
            Log("e.name:", e.name, "e.stack:", e.stack, "e.message:", e.message)
        }
        LogStatus(_D(), "\n`" + JSON.stringify(tbl) + "`")
    }
}

functiononexit() {
    Log("Finalize function, send a stop command to the concurrent thread with ID ", tid,"")
    __threadPostMessage(tid, "stop")
    Log("Wait for the concurrent thread with ID ", tid, " to stop")
    __threadJoin(tid)
    Log("Finalize function execution completed")
}
During live trading testing, we can see that the main() function continuously receives market data from WebSocket connections created by concurrent threads.
When stopping the live trading strategy, the finalize function will start working.